
Create & publish report
Apart from the standard reports that are available by default, Insights+ allows you to create three types of custom reports.
- Normal Reports: General report that you can create using normal charts.
- Migration Reports: Special reports used to track the migration of users from one slab or segment to another slab or segment. You can use only migration charts to create migration reports.
- External Reports: Add reports that are created outside Insights+.
Create Normal & Migration Report
To create a custom report, do the following.
- Login to the InTouch and navigate to Insights+.
- On the home page, click Create Report.

- In Report name, specify a name for the report.
- Choose the type of the report, Normal or Migration, in the drop-down next to Report Name.
- Choose the report category in the next drop-down box - Sales, Customer, Loyalty, CRM, Product, or Migration.
- Click + Add/Remove Charts.
You will see a pop-up screen that prompts you to select charts

- Search for the required chart using the search box. If you do not remember the chart name, you can also get charts by KPIs and Dimensions using the respective boxes.

8.Click Add of the respective chart that you want to add.

- Click Remove to deselect a chart if not required.
- Close the pop-up screen. You will see the charts added to the report.
- Choose the duration of the filter, check the Compare filter to compare data with that of a previous duration, and click Apply. To know more about date filter and comparison with a previous duration, see Filter by Date Range & Compare with Previous Period.

-
Click Save to complete creating the report. You can see it in the respective category in All Reports.
You need to publish it manually, as explained below, if you want other users of your organization to access the report. Else, only you (creator) can access the report. -
In All Reports, click the report that you want to publish. Use the Search box and filters to find the report quickly.
-
Click the More Options icon > Publish.

You will see a success message if the report is published successfully.

Create External Report
To create an external report, perform the following:
- In the Report Name field, enter a name for the report.
- In the Description text box, enter a description of the report.
- From the Category option, select the appropriate report category. You can also click Add category and add a new category.
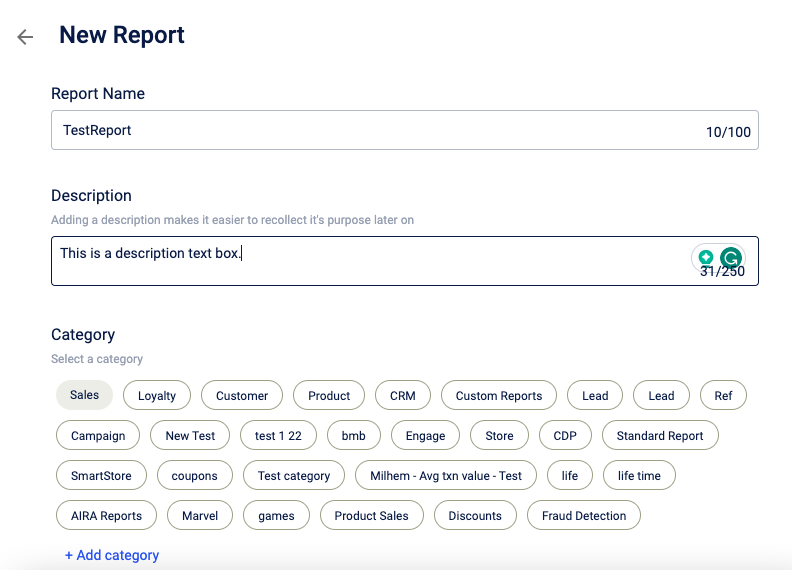
- From the Type option, select External.
- In the Report URL, enter the Databricks notebook path.
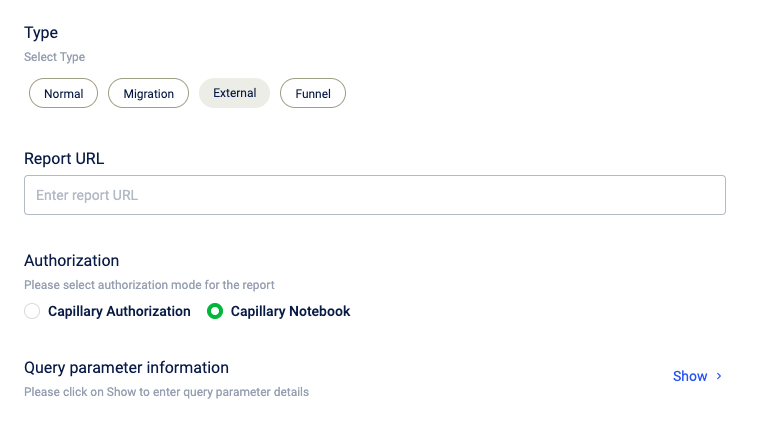
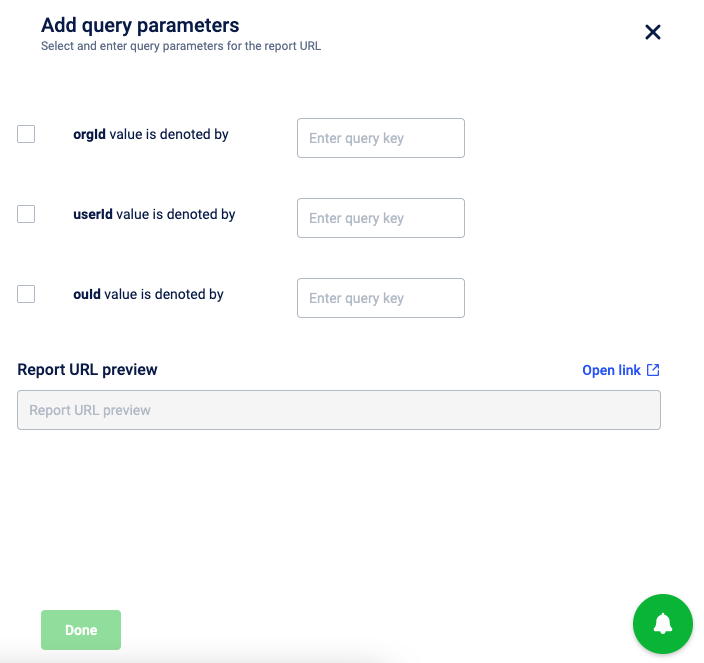
- In the Add query parameters, click Show.
- In the Report URL preview , click Open link to preview the report.
- Click Done.
- Click Next and then, click Save report.
If you are receiving any error while viewing the report, check, verify and update the Databricks report URL link.
Editing an Export report
To Edit, perform the following:
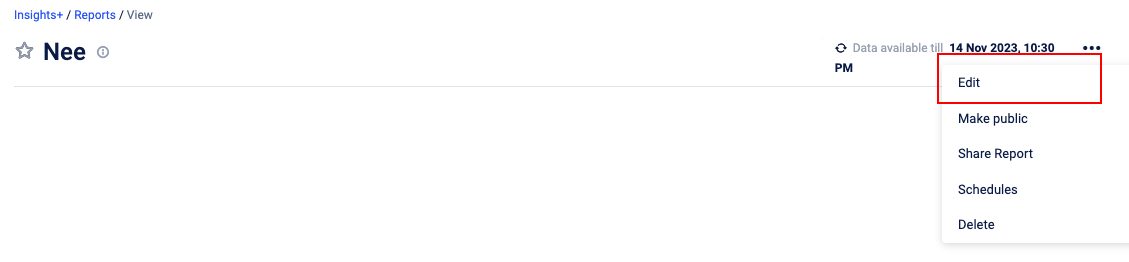
- Open the report > click More options icon > click Edit.
- Make the required changes.
- Click Next .
- Click Save report.
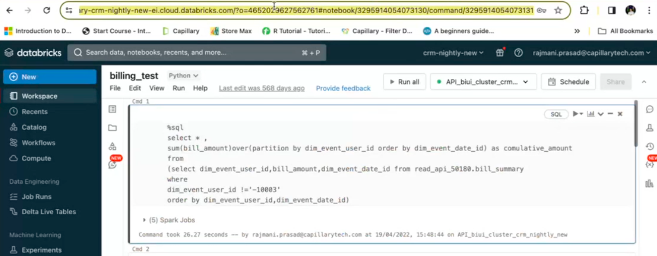
Copying Databricks notebook URL
To copy a Databricks notebook URL, from the Databricks homepage, navigate to your Workspace > Users > click on the report and copy the URL.
Updated about 1 month ago